A louver pattern is the way louver panels are arranged on a wall or ceiling: the direction the lines run, how the panels repeat, how much of the surface they cover, and the texture on each panel's face. The same panel, laid out two different ways, can give you two walls that look nothing alike.
Below are nine louver patterns that work well in Indian homes and offices, with notes on what each one does to a room and how much planning and material it takes. Settle the pattern before you pick a colour, because it decides more about how the finished wall looks. Every example here is based on the WPC and charcoal louvers we stock at our Bengaluru showroom, so the sizes are real rather than mood-board guesses.
What makes up a louver pattern?
Four decisions shape every louver pattern. Skip one of them and the wall tends to look as though the panels went up wherever they fit.
- The profile, meaning the shape of a single panel: how many grooves it has and how wide and deep they are. An 8-groove panel gives fine, dense lines, while fewer and wider flutes read as bold planks from across the room.
- The direction, which can be vertical, horizontal or angled. This changes how tall or wide the room feels, and it decides how many joints and cuts you'll have.
- The rhythm: identical panels all the way across, two alternating colours or profiles, or a trim strip every few panels.
- The coverage: a full wall, a framed section, a strip behind the TV, or a wrap that carries on across the ceiling.
Standard louvers in India are 2900 mm (9.5 ft) long, 100 to 220 mm wide and 6 to 30 mm thick, so you're making these choices within fairly fixed panel sizes. The full size chart is in our louver dimensions guide. If you haven't settled on WPC or charcoal yet, our guide to the types of louvers is the better place to start.
9 louver pattern ideas for walls and ceilings
1. Classic vertical lines
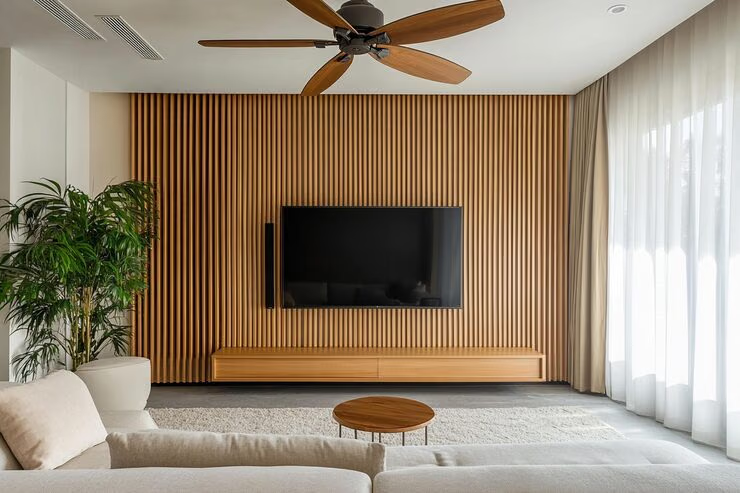
Vertical is the default louver pattern mainly because of panel length. On ceilings up to about 9.5 ft, one 2900 mm panel runs from floor to ceiling in a single piece, so there are no horizontal joints to hide. The lines also pull the eye upward, which makes a standard ceiling feel a little higher.
Estimating is simple too. Divide the wall width by the panel width, round up, and add about 10% for cuts around switchboards and edges; that's the allowance we use in our own estimates for straight vertical runs.
Vertical louvers work behind a sofa, a TV or a bed, and in narrow passages where you want height more than width.
2. Horizontal bands
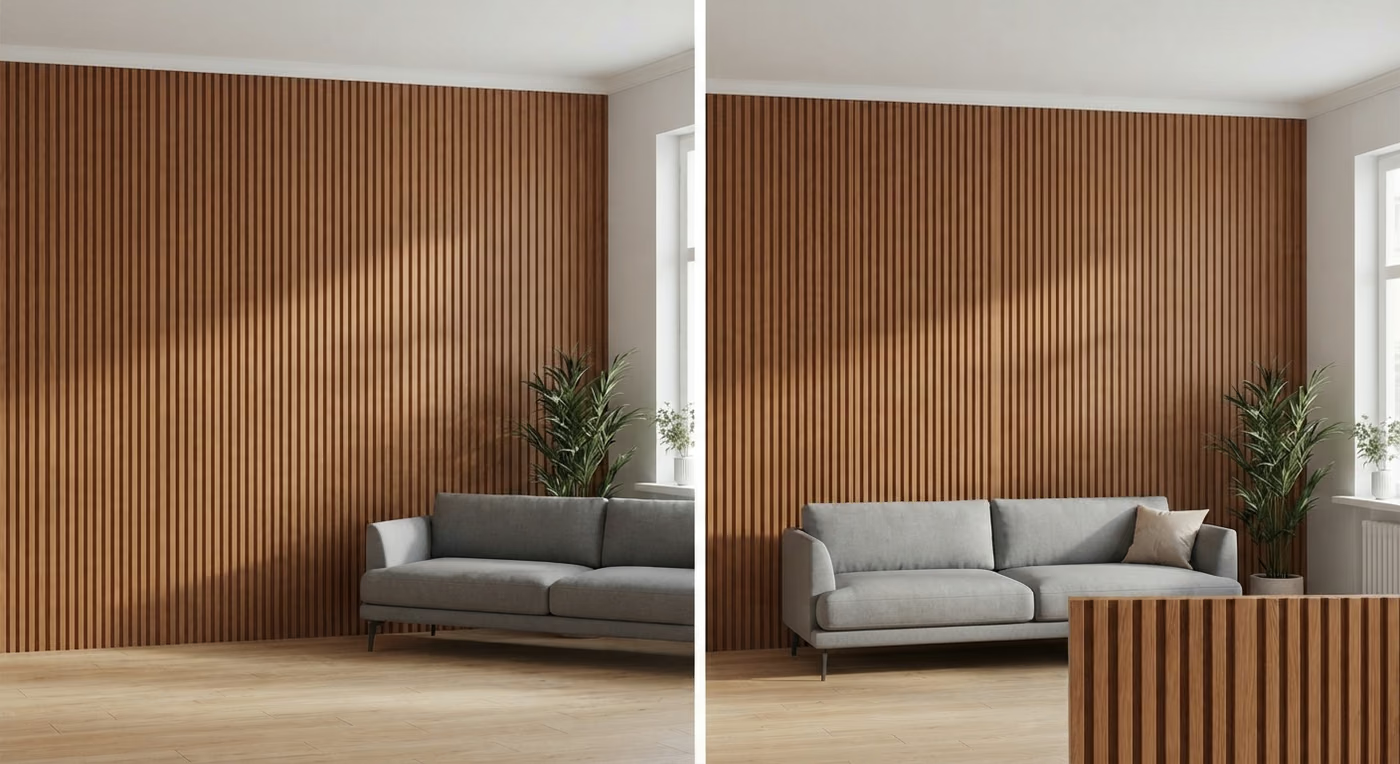
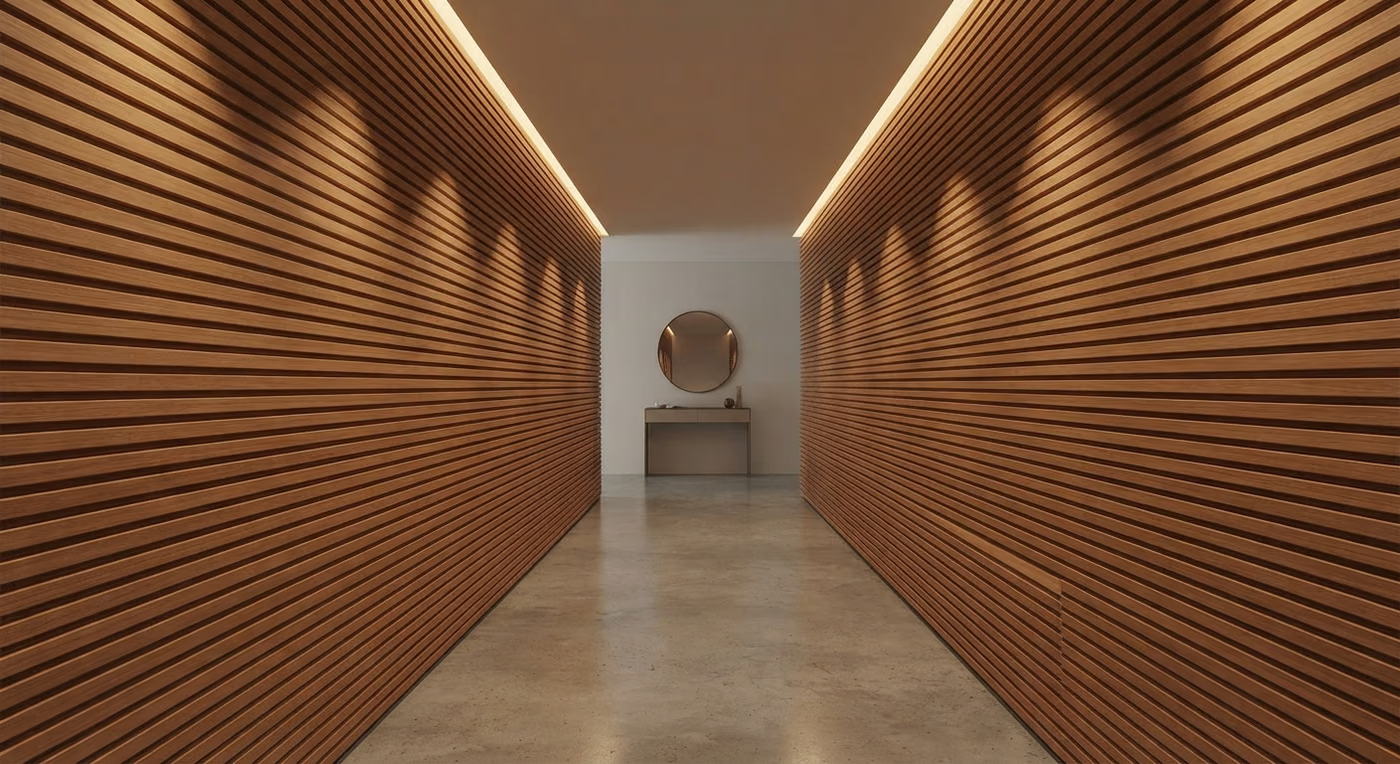
Turn the same panels sideways and the wall reads wider and calmer. Horizontal louvers suit long corridors and low headboard walls, and they make a neat half-height wainscot band under a painted upper wall.
The catch is length. Panels are 9.5 ft long, so any wall wider than that needs end joints. Decide where those joints fall before installation: stagger them like brickwork, or line them up behind a vertical trim so the break looks intentional. Horizontal runs also leave more offcuts, so budget more than the 10% you'd allow for a vertical wall.
Dust is the other trade-off, since horizontal grooves behave like tiny shelves and need brushing more often than vertical ones.
3. Diagonal accent
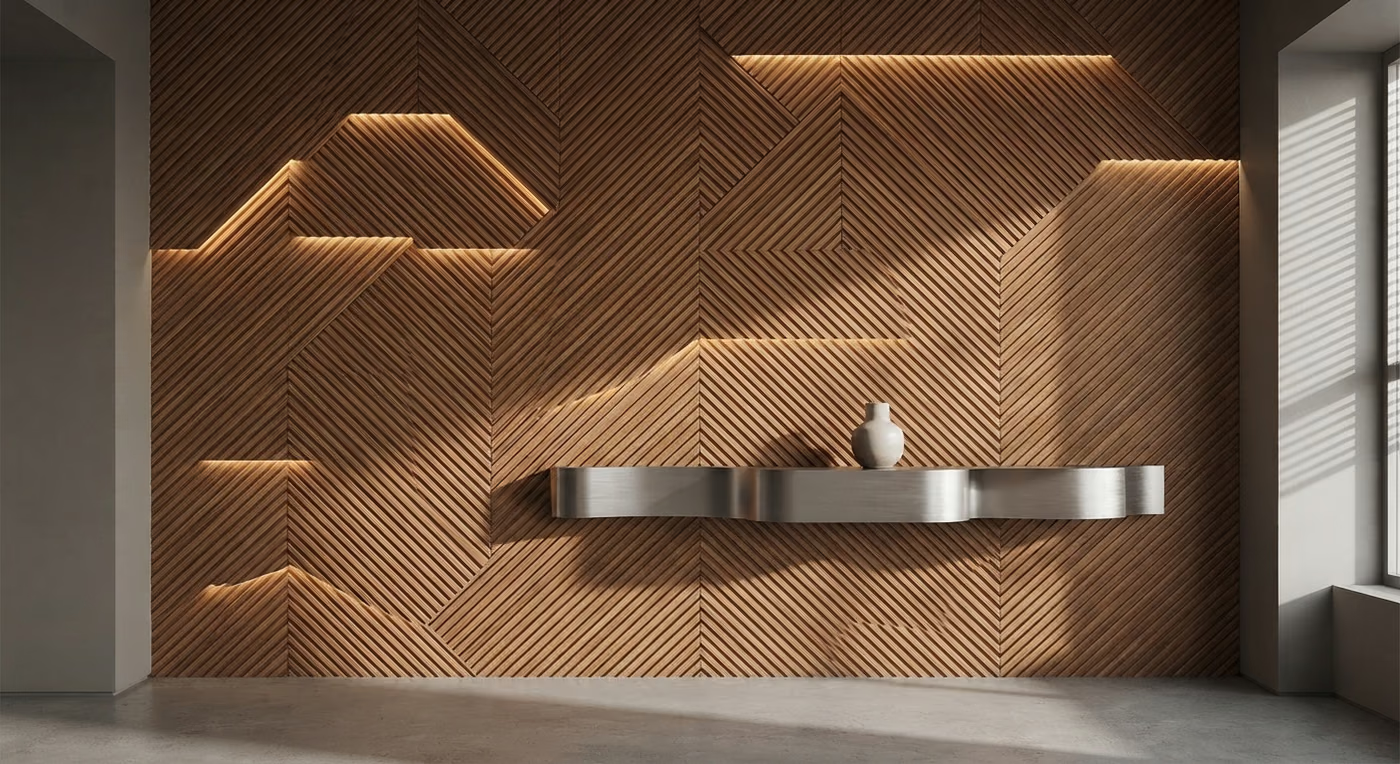
Panels laid at an angle, usually 45 degrees, bring movement to a wall that would otherwise look flat. Keep a diagonal layout to one defined section, say a strip behind the TV or a panel beside the dining table, instead of running it round the whole room.
Every panel that meets the floor, ceiling or a side edge needs an angled cut, so you'll pay for more waste and more carpenter time than with a straight layout. Switchboards get trickier as well, since the cut-out sits across the grooves at an angle. If you like the idea, mark the diagonal on the wall with masking tape and live with it for a day before you commit.
4. Chevron and herringbone
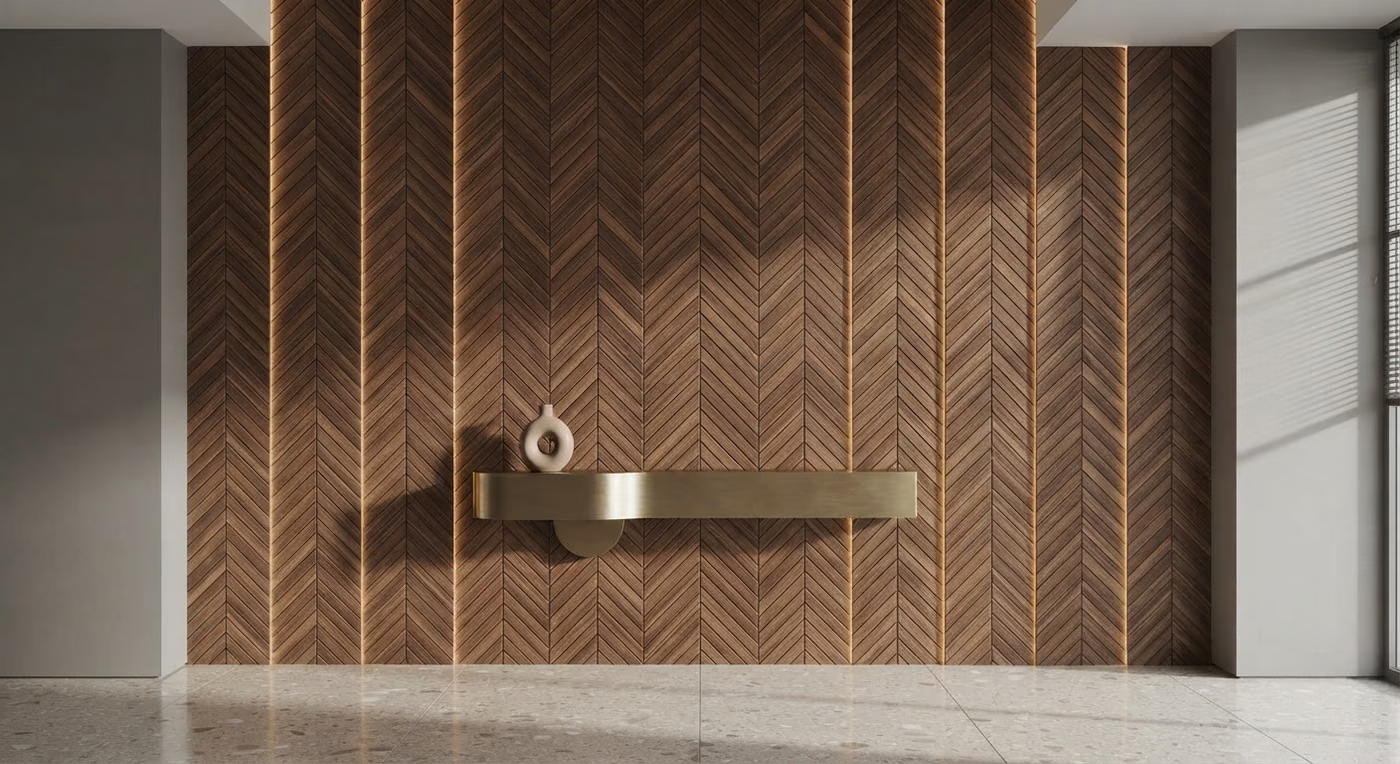
In a chevron, the pieces meet in a clean V. Herringbone is the staggered version, where the end of one piece butts against the side of the next. Both give a wall a formal, tailored look, and both are demanding to build from ordinary louvers: each short piece needs a precise angled cut, and the zigzag has to stay centred across the wall.
There's an easier route. Some charcoal panels already carry the design on their face, so they go up straight like any other panel and you only have to line the pattern up across neighbouring panels. The E3 Clads PHOENIX range includes Black Chevron (9041), Brown Herringbone (9042) and several other chevron shades. Black Chevron, for example, is a 12-inch-wide, 12 mm charcoal panel.
Our view: build a cut chevron only when that wall is the centrepiece of the room and your carpenter has done one before.
5. Two-tone rhythm
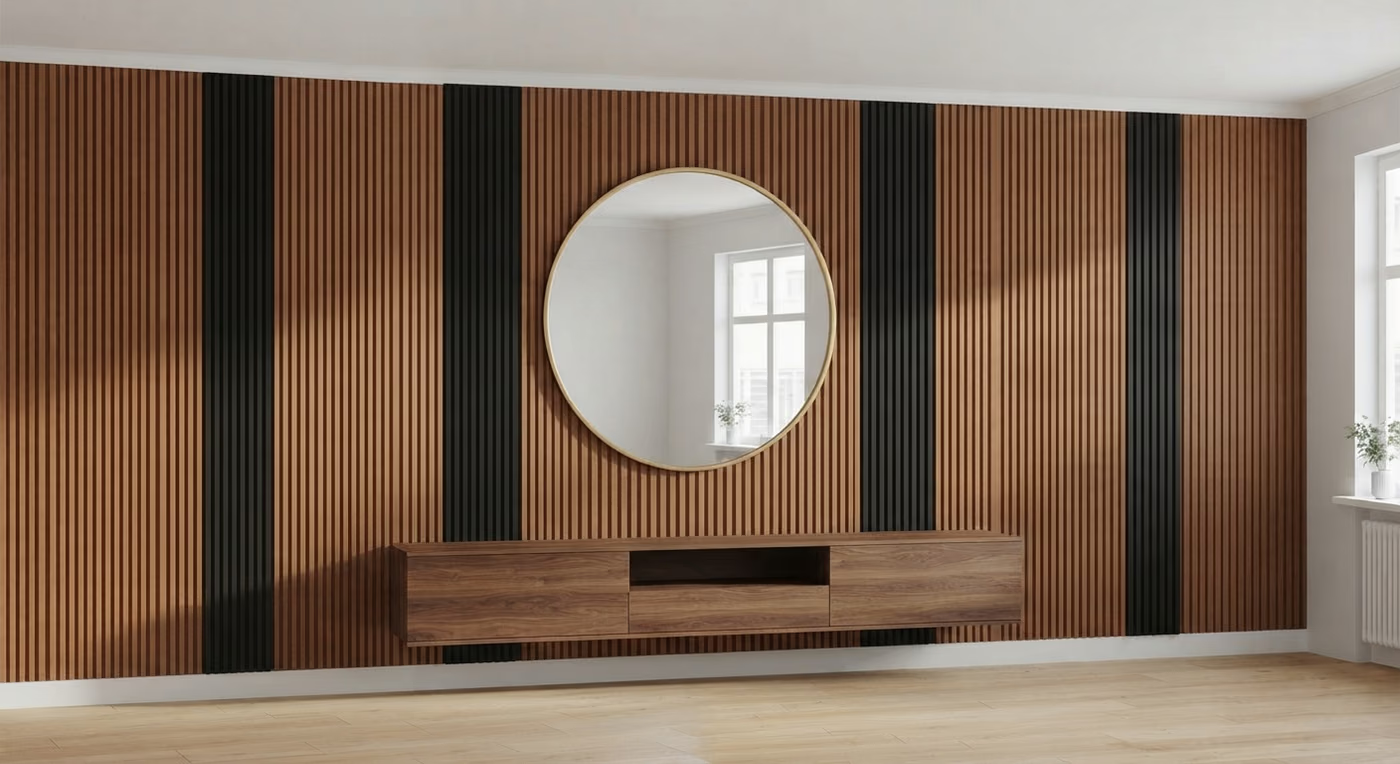
Alternate two colours, such as a light wood with a matt black, or run every fourth panel in a contrasting shade. Either way, a standard vertical wall ends up looking custom without costing much more.
With tongue-and-groove louvers the panels sit edge to edge, so the groove spacing is fixed by the profile you pick and the rhythm has to come from colour or from mixing profiles of the same thickness. Combining WPC (usually 15 to 18 mm for interiors) with charcoal (6 to 12 mm) leaves a step where they meet, so plan a trim or a frame to level them.
6. Framed louver panel
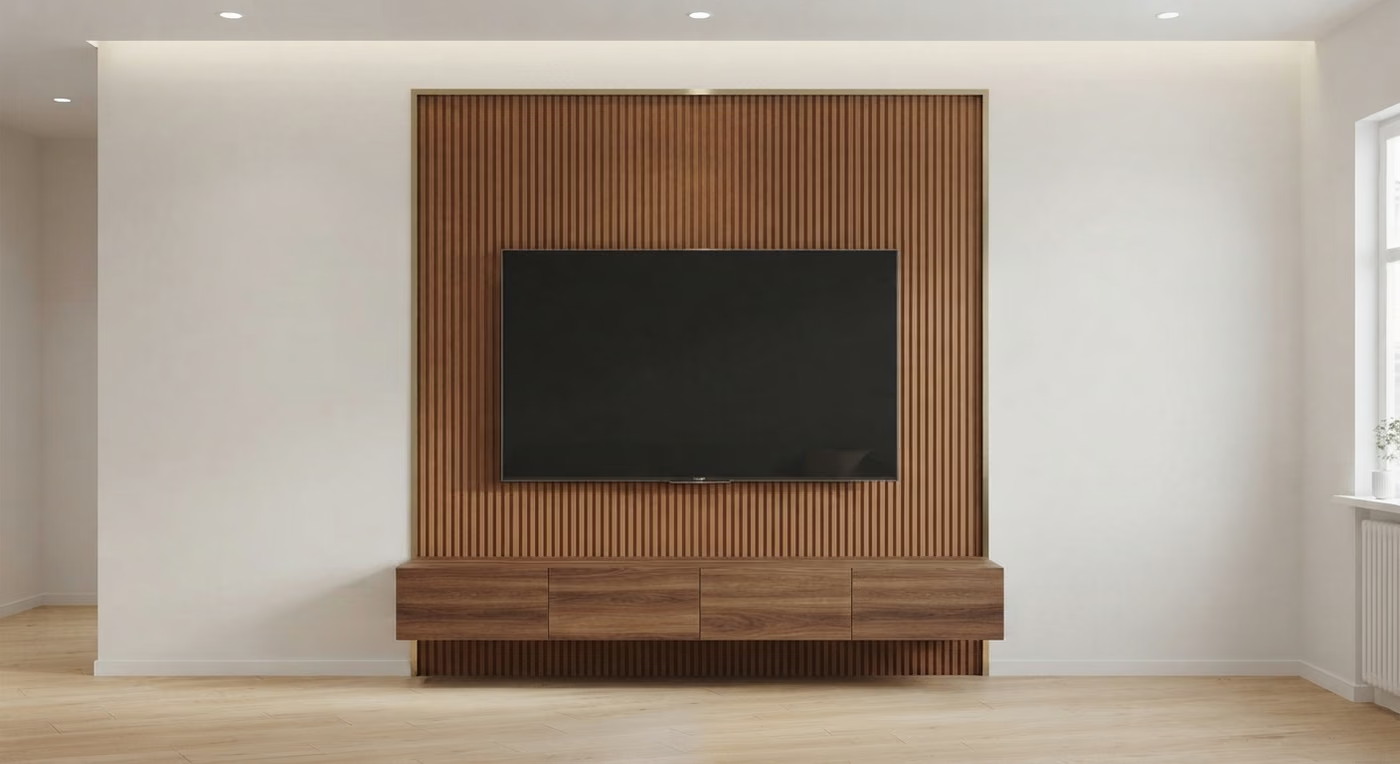
Louvers don't have to cover the whole wall. In a framed panel they fill one section, bordered by a flat strip, a metal trim or plain painted wall. One popular version is a louver strip behind the TV with storage or paint on either side.
Of the nine patterns here, this one costs the least, because you only buy panels for the framed area. It also solves walls cluttered with switchboards or a window off to one side: frame the clean section and leave the busy part plain.
7. Wall-to-ceiling wrap
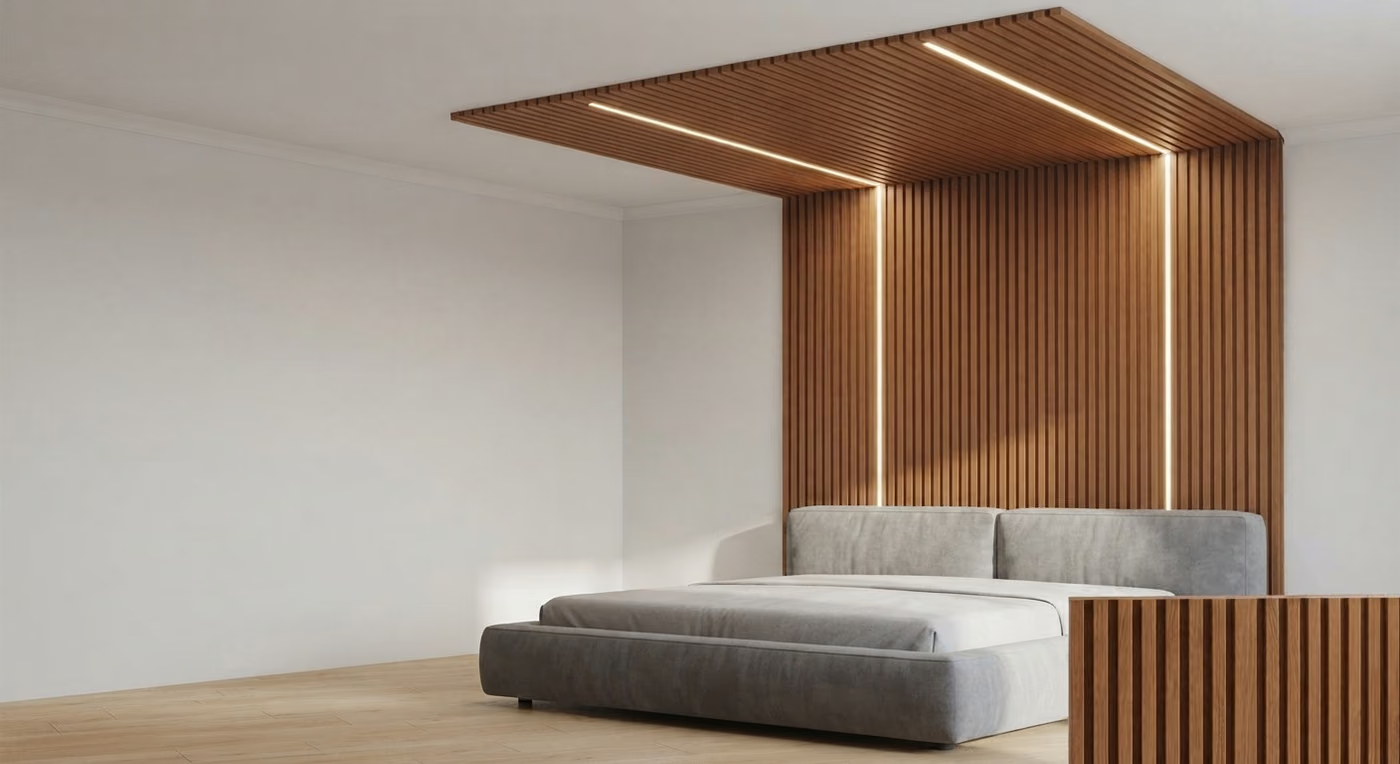
Here the louvers run up the wall and continue across part of the ceiling, forming a canopy over a bed, a dining table or a reception desk. It marks out a zone in an open plan without building anything.
Go lighter overhead. For ceilings we recommend charcoal louvers in the 8 to 12 mm range, because heavier panels add load and can sag. At the corner where the wall meets the ceiling, match the groove direction so the lines read as one continuous run.
8. Lit louvers
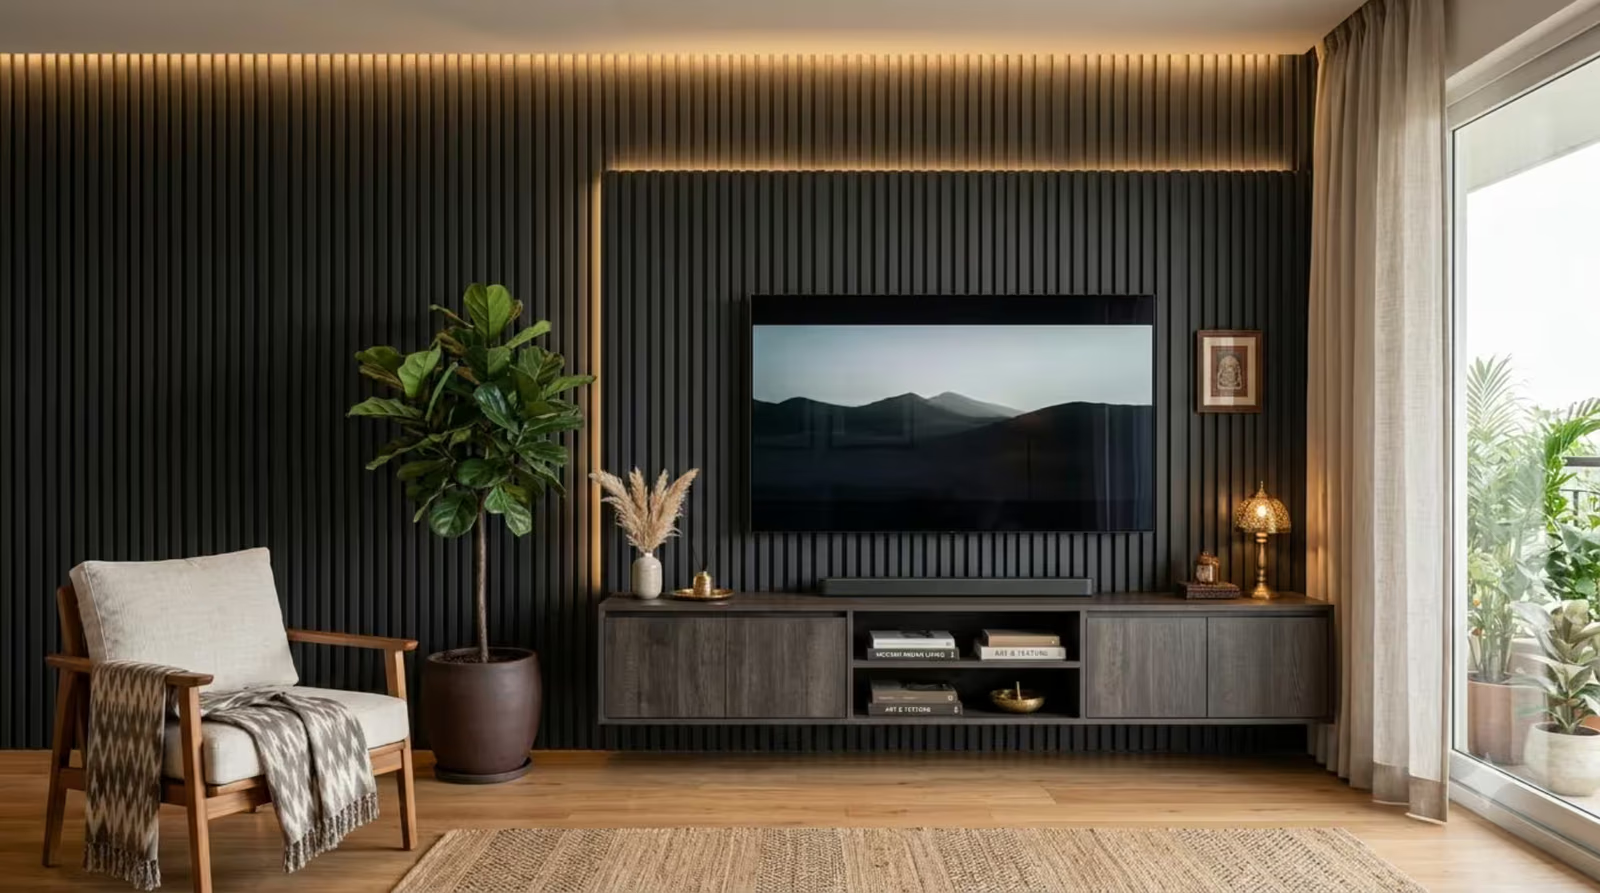
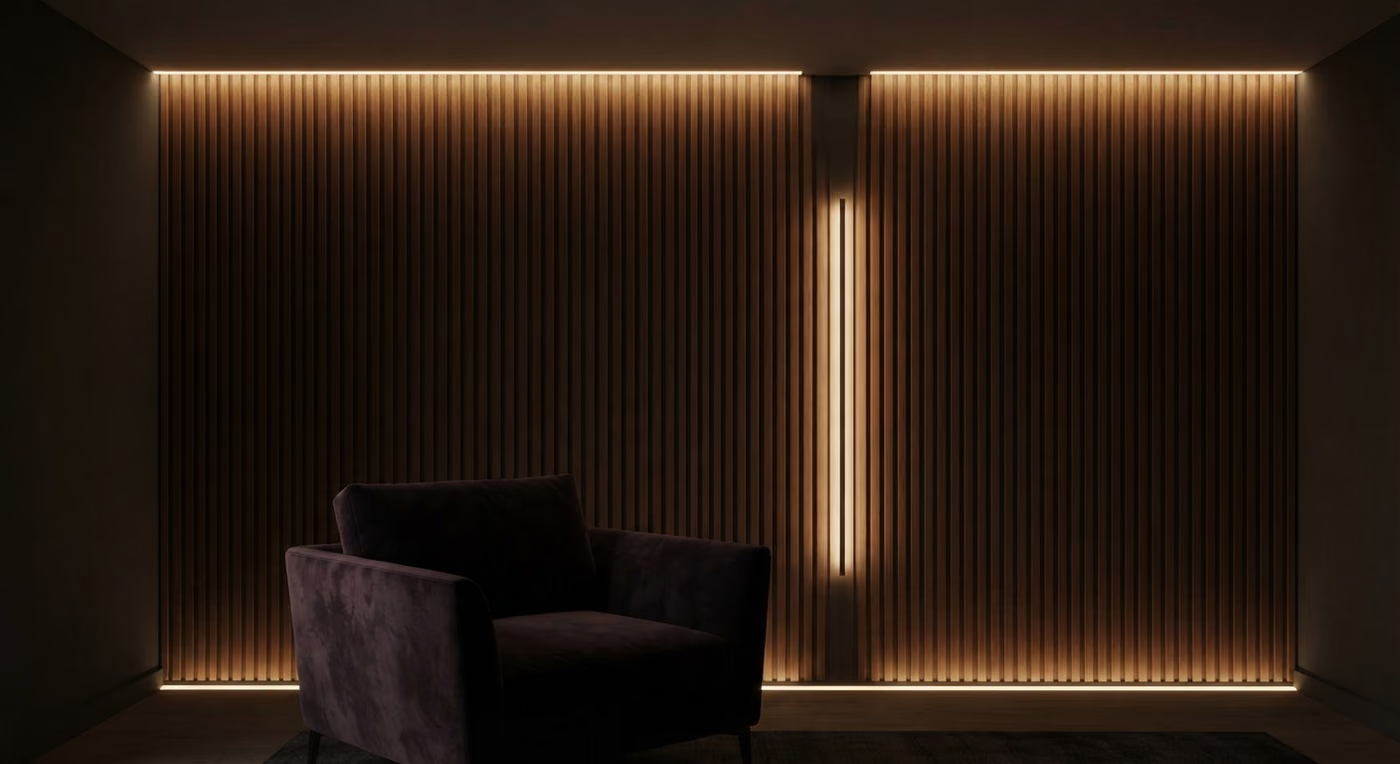
Lighting decides how deep a louver wall looks. Light coming from the side grazes across the grooves and deepens every shadow line, while light from straight in front flattens them. Add a cove light at the top of the wall, or an LED strip set into a channel between panels, and a plain vertical louver pattern becomes the main feature of the room after dark.
Sort out the wiring before a single panel goes up. Once the louvers are fixed, running a new cable behind them means taking panels down.
9. Surface patterns: reed, marble and stone
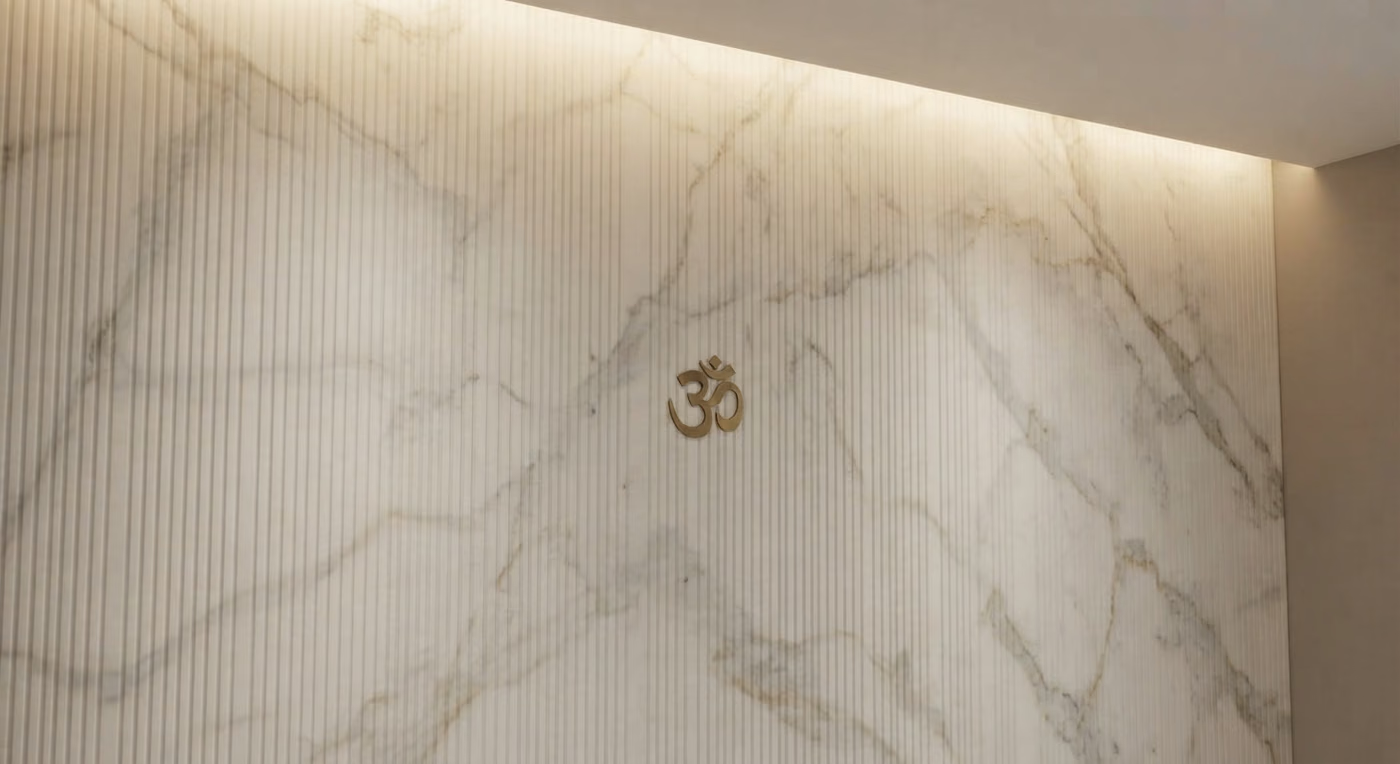
Sometimes the louver pattern sits on the panel itself. Charcoal louvers come in reeded finishes with very fine lines, grooved wood looks, and marble or stone faces. In the PHOENIX range you'll find several Reed finishes and a book-matched marble design called Cream Gold Book Match (9017). On our product filters, these sit under the Solid, Stone and Wooden finishes.
Surface patterns suit rooms where a deep profile would feel heavy, like a compact bedroom or a pooja room wall. Charcoal louvers project only about a centimetre off the wall, so they don't make the room feel smaller.
Louver patterns compared
| Pattern | Visual Effect | Best For | Install Difficulty | Material Wastage |
|---|---|---|---|---|
| Vertical | Taller ceiling | Living room, TV wall, headboard | Easy | Low (about 10%) |
| Horizontal | Wider, calmer wall | Corridors, low walls, wainscot | Medium | Medium |
| Diagonal | Movement | One accent section | Medium | High |
| Chevron or herringbone, cut from louvers | Formal, tailored | Foyer, reception | Hard | High |
| Chevron or herringbone, patterned panel | Same look, flatter profile | Living room, TV wall | Very hard | Low to medium |
| Two-tone rhythm | Custom look on a budget | Living room, office | Easy | Low |
| Framed panel | Focused feature | TV units, busy walls | Easy | Low |
| Wall-to-ceiling wrap | Defines a zone | Bed, dining, reception | Medium | Medium |
| Lit louvers | Depth at night | Any feature wall | Medium, needs an electrician | Same as the base pattern |
Which louver pattern suits which room?
Living room
A full vertical wall or a two-tone rhythm works well here. Century SPLAY and TROIKA fluted WPC louvers and E3 Clads PHOENIX charcoal panels are our customers' top picks for living room feature walls.
TV unit
A framed louver strip behind the TV keeps the wall calm and puts the focus on the screen. For TV walls in Bengaluru homes, the most requested panels are Century DEUCE in Fine Wenge or Dark Walnut and the PHOENIX charcoal range. Current options are on our louvers for TV unit page.
Bedroom
Behind the bed, a vertical or framed pattern can stand in for a tall headboard. Urodecor VOL-II charcoal panels in warm wood tones and Century DEUCE are popular choices for bedroom louvers.
Office and reception
People stand and look at a reception wall while they wait, so chevron-pattern panels or a wall-to-ceiling wrap over the desk earn their cost there. E3 Clads VEGAS-10 and PHOENIX panels and Century SPLAY are widely specified for office feature walls.
Exterior facade
Outdoors, the pattern has a job to do. Horizontal louvers block high midday sun, and vertical fins deal better with low morning and evening sun on east and west walls. Use 25 to 30 mm UV-stabilised WPC outside, never interior panels. Our post on what louvers are used for covers shading and ventilation in more detail.
How to plan your louver pattern before you buy
1. Measure the wall's width and height at two or three points each and use the larger reading. Indian walls are rarely perfectly square.
2. Mark the centre line and plan outwards from it, so the panels at both edges are cut to the same width. Start from one corner instead and you often end with an awkward sliver at the other.
3. Map every switchboard, socket, AC pipe and window, then decide whether the pattern goes around them or a framed section avoids them altogether.
4. Check the wall itself. Uneven or damp-prone walls need a plywood or aluminium frame first, and that adds 8 to 20 mm to the projection.
5. Look at finishes in daylight as well as under showroom lights, and think about the light your room gets. A dark walnut that looks warm under spotlights can read almost black in a dim room.
6. Count panels with our louver calculator, then add wastage: about 10% for straight vertical runs, more for horizontal, diagonal and chevron layouts.
Mistakes to avoid
Keep busy patterns for bigger walls. On a small bedroom wall, a chevron or a very tight flute can feel crowded, and a calmer vertical or framed layout usually looks better. Mixing more than two patterns in one room rarely works either; pick one feature wall and let the others stay quiet. If you're torn between two patterns, go with the calmer one, since it's easier to live with for years.
Watch for forgotten joints on horizontal layouts, and don't choose a finish under showroom lights alone. The costly mistake is fitting 15 to 18 mm interior panels on an exterior wall. It's the most common sizing error we're called in to fix, because thinner panels can bow under direct sun.
Frequently asked questions
Frequently Asked Questions
Vertical is the standard choice. A 9.5 ft panel covers a standard Indian ceiling height in one piece, there are no horizontal joints, and wastage stays around 10%.
Yes, and they make a wall look wider. Walls wider than 9.5 ft need end joints, so hide them behind a trim or stagger them, and allow extra material for offcuts.
Vertical lines in a light shade make a low ceiling feel taller, while horizontal lines make a narrow wall feel wider. Fine reeded profiles in pale wood or white reflect more light than deep grooves in dark tones.
Building a chevron from cut louvers is skilled, slow work with high wastage. Panels that already carry a chevron design, like the E3 Clads PHOENIX chevron shades, install like standard vertical panels.
Yes, but expect a step between them: WPC interior louvers are usually 15 to 18 mm thick and charcoal louvers 6 to 12 mm. Where they meet, finish the joint with a trim, a frame or a deliberate shadow gap.
Use a soft brush or a vacuum brush attachment for dust in the grooves, and a damp microfibre cloth for marks. Fine flutes and horizontal layouts gather dust faster than wide vertical grooves.
See the patterns in person
Photos never quite show how grooves catch the light. Our Dommasandra showroom on Varthur Main Road has full-size Century, E3 Clads and Urodecor panels on display and is open Monday to Saturday, 10am to 7pm. Bring your wall measurements and a photo, or book a free consultation with one of our designers. You can also WhatsApp the details to +91 81231 46006 for a panel count and estimate.
Back to Blog